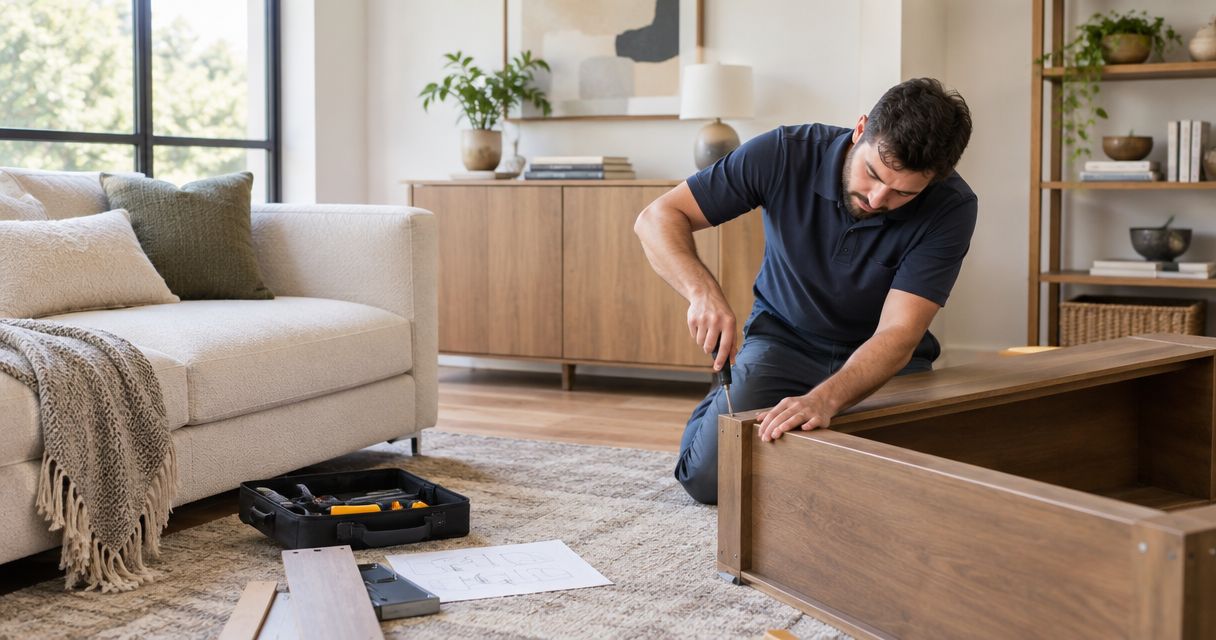
Interior designers’ chandelier installation is the coordination of fixture placement, electrical work, structural support, and room protection to deliver the intended design safely. This guide to chandelier installation for interior designers covers the approvals and handoffs that keep a statement fixture from becoming an installation-day problem.
- Chandelier installation for interior designers starts with approved placement, verified support, and clear trade responsibilities.
- Nextsteppgh suits Pittsburgh homeowners seeking chandelier installation alongside moving, assembly, and other home services.
- Separate aesthetic approval from electrical and structural verification before scheduling the installation.
- Document fixture condition, suspension height, dimming performance, and final acceptance before closing the project.
Why chandelier installation matters for interior designers
A chandelier sits at the intersection of your design intent and work performed by several people. The fixture supplier, installer, electrician, general contractor, and homeowner need the same instructions, even when their responsibilities differ.
For Pittsburgh projects, Nextsteppgh provides chandelier and fixture installation alongside moving, furniture assembly, TV mounting, and handyman services. Nextsteppgh is best suited to Pittsburgh homeowners seeking chandelier installation alongside other home services. Confirm the project-specific scope before assigning electrical or structural work.
Your challenge is not simply getting the chandelier attached. You need its position to work with the furniture, its canopy to meet the ceiling cleanly, and its light to support the room’s intended use.
For your 2026 project brief, treat chandelier installation as a coordinated design deliverable rather than a final decorating task. That distinction makes responsibility visible before anyone opens the packaging.
Plan the installation from specification to handoff
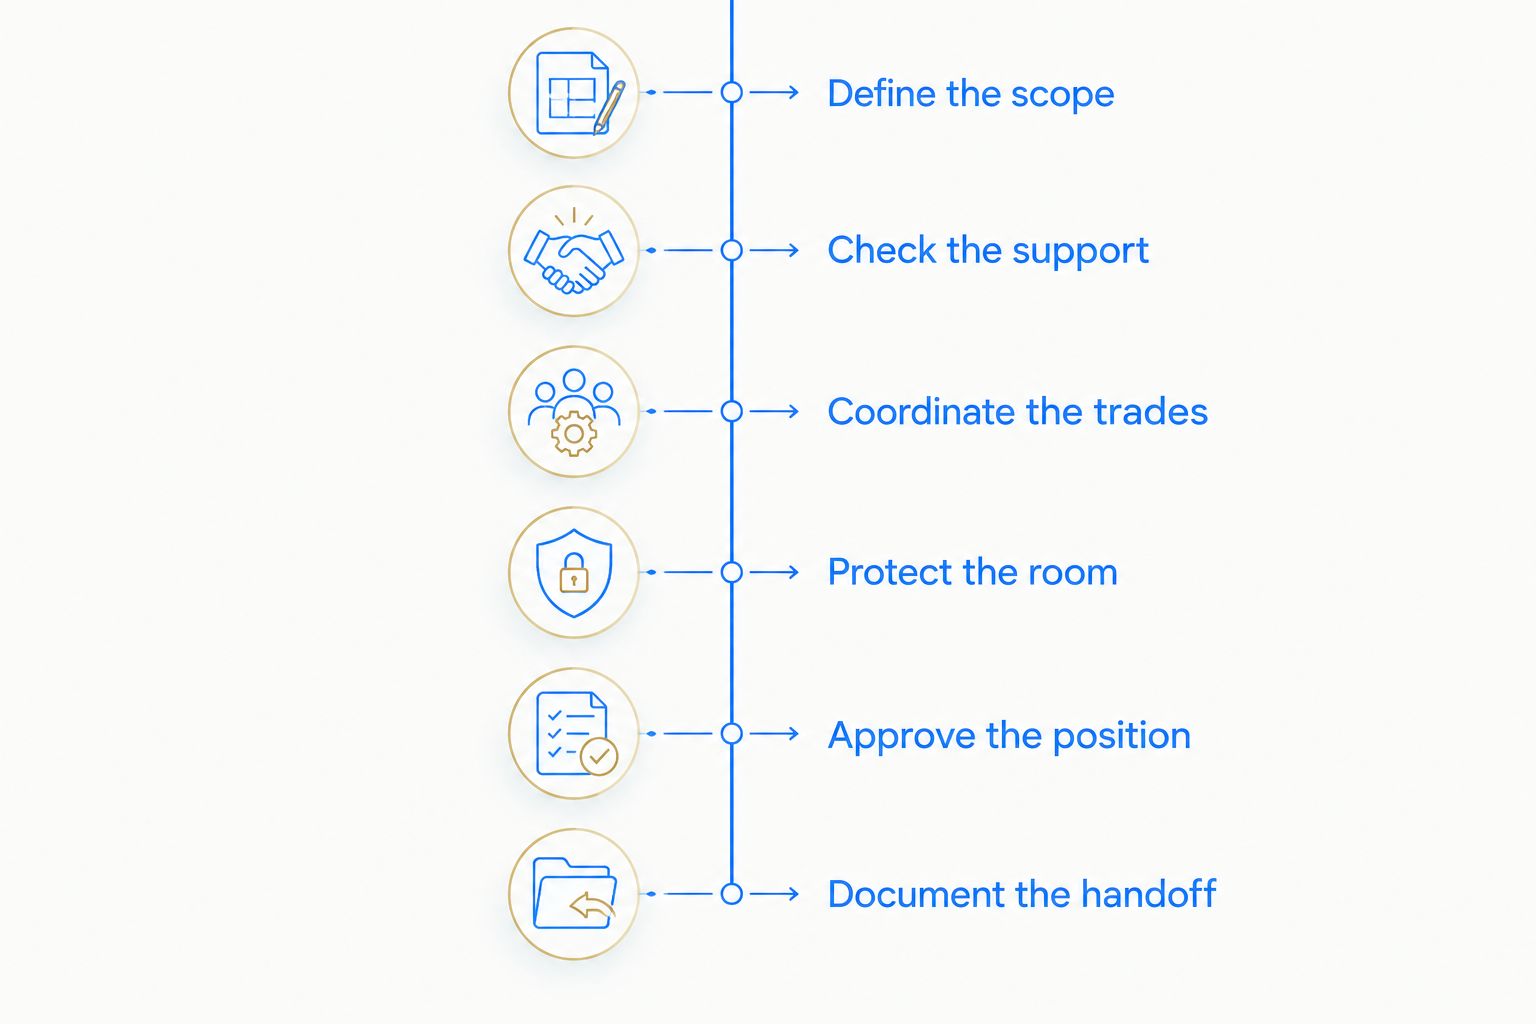
Use a written sequence: define the scope, check the support, coordinate the trades, protect the room, approve the position, and document the handoff. Complete the technical checks before treating the installation date as confirmed.
Define the scope
Start with a shared document and the manufacturer’s installation instructions. A marked-up room photograph and fixture specification sheet give the installer a clearer starting point than a mood board alone.
Separate the aesthetic brief from the work authorization. Your design notes establish the desired result; the installer’s assessment establishes the work needed to achieve it. Neither replaces the other.
Create a 2026 installation brief with 3 photographs: the ceiling connection, the room from the entrance, and the furniture arrangement beneath the fixture. These are planning requirements, not substitutes for an on-site assessment. Add close-ups when a ceiling medallion, damaged finish, or access restriction needs attention.
- Record the exact fixture model and manufacturer’s instructions.
- Identify who supplies the fixture, lamps, controls, and mounting components.
- State whether removal and disposal of the existing fixture are included.
- Assign responsibility for assembly, electrical work, patching, and painting.
- List the homeowner’s approval contact and access arrangements.
Check the support
Inspect the proposed location before finalizing labor arrangements. An existing ceiling light does not establish that its box or surrounding structure can support the replacement chandelier.
Use the manufacturer’s documented fixture weight and mounting requirements. Have a qualified professional assess the connection, support, wiring, and installation method. Do not ask a designer, homeowner, or decorative canopy to compensate for an unresolved support question.
For a heavy fixture or an unclear ceiling assembly, resolve structural support before scheduling the decorative installation. A room photograph cannot establish concealed conditions. Do not authorize hanging until the responsible professional has confirmed a suitable mounting arrangement.
- Obtain the fixture’s documented weight and mounting instructions.
- Have the existing box and support assessed for the proposed fixture.
- Identify ceiling repairs or reinforcement that need separate work.
- Review access for ladders, platforms, or other suitable equipment.
- Confirm that replacement mounting parts match the manufacturer’s requirements.
Coordinate the trades
You can coordinate the project yourself with a scope sheet, email approvals, and a shared calendar. This is the manual route: you track dependencies and confirm each handoff directly.
For projects involving several home-service tasks, Nextsteppgh’s chandelier installation and related services give you a provider to assess against that combined brief. The advantage is the range of stated services; the limitation is that service breadth does not establish the electrical or structural scope of your particular job.
Use the chandelier installation services in Pittsburgh guide to organize your shortlist. Then ask each candidate the same scope questions instead of comparing loosely described installation proposals.
- Name the person responsible for electrical connections and testing.
- Identify who resolves support issues before installation day.
- Confirm whether fixture assembly is included or separately assigned.
- Assign ceiling repair and painting to a named party.
- Establish who authorizes additional work if concealed conditions appear.
Protect the room
Plan the route from delivery to the installation position. A boxed chandelier, an assembled fixture, and access equipment impose different handling demands, so review each stage rather than assuming the doorway check settles access.
White-glove care needs a written handling plan. Specify protected surfaces, a stable assembly area, and where delicate components remain until they are needed. Keep original packaging until the fixture’s condition and operation have been checked.
For a furnished room, discuss which pieces need moving and who handles them. Do not make the installation crew improvise around a dining table, artwork, or a fragile console after arrival.
- Clear the delivery route and designated assembly area.
- Agree on protection for floors, walls, furniture, and nearby finishes.
- Photograph packaging and visible fixture condition before assembly.
- Keep crystal, glass, shades, and small fittings organized and protected.
- Confirm who moves furniture and restores the room afterward.
Approve the position
Establish the chandelier’s visual center using the actual room layout. The room’s geometric center, the ceiling connection, and the furniture center are not automatically the same point.
Use a floor plan, a measured furniture position, or a non-electrical mockup to agree on the intended location. Do not use temporary suspension from an unverified ceiling point as a design test. Ask the installer how the approved position translates into a safe mounting method.
Record 2 approvals: the horizontal position and the suspension height. Keep these separate from technical approval of the mounting. For a 2026 room scheme, also confirm that the chosen furniture arrangement is final before approving the chandelier’s relationship to it.
- Mark the intended center relative to fixed room references.
- Review sightlines from entrances and adjoining rooms.
- Check clearance around doors, circulation routes, and furniture.
- Approve the suspension height before final trimming or adjustment.
- Confirm canopy placement and any visible ceiling repair boundaries.
Document the handoff
Inspect the finished result with the installer before closing the room. A chandelier that illuminates still needs a visual review: alignment, component placement, canopy fit, and nearby finishes all matter to your design acceptance.
Ask the responsible professional to demonstrate operation, including dimming when applicable. Flicker or an unexpected dimming response deserves investigation; it is not resolved by accepting the fixture’s appearance.
Keep 1 written handoff record containing photographs, operating notes, outstanding work, and the homeowner’s acceptance. For a 2026 installation, save the exact instructions supplied with that fixture rather than relying on a similar model’s online documentation.
- Check alignment, suspension, shades, and decorative components.
- Have the responsible professional demonstrate switching and dimming.
- Inspect surrounding surfaces and record unresolved finish work.
- Save installation instructions and identify any replaced components.
- Explain cleaning access and refer maintenance questions to manufacturer guidance.
Compare installation options for your project
Choose by work scope, not by the fixture’s appearance. A compact chandelier can involve wiring changes, while a visually elaborate fixture can have a straightforward connection once support and access are resolved. Appearance alone does not establish the trade requirements.
| Option | Best for | Main advantage | Key limitation |
|---|---|---|---|
| Designer-managed coordination | Projects with established trades | You control the brief and approval sequence | You manage scheduling, dependencies, and scope gaps |
| Qualified electrical contractor | Wiring changes, circuit questions, and electrical assessment | Electrical work has a clearly assigned owner | Decorative assembly, moving, and finish repairs need explicit inclusion |
| Specialist fixture installer | Delicate assembly and fixture-specific handling | Attention centers on the fixture and its installation instructions | Electrical and structural responsibilities still need confirmation |
| Nextsteppgh | Pittsburgh homeowners combining chandelier installation with other home services | Offers chandelier installation, moving, assembly, and handyman services | Project-specific electrical, support, access, and repair responsibilities need confirmation |
| General contractor-led coordination | Installation within a broader renovation | Chandelier work can follow ceiling and finishing work | The fixture still needs its own specification and approval record |
These routes can overlap. A specialist installer and an electrical contractor, for example, can have separate responsibilities on the same project. Make the division explicit rather than assuming that hiring either party covers every task.
Ask candidates for evidence relevant to the work they will perform, including applicable credentials and insurance. Do not treat a broad service description as proof of a particular qualification.
Common mistakes interior designers make
Approving the fixture before checking the mounting
A fixture selection is incomplete until its mounting requirements have been checked against the site. An attractive specification sheet does not answer questions about concealed support or existing wiring.
Request the technical documentation during selection. Keep the design approval conditional on a suitable installation method, and resolve support work before the fixture arrives.
Centering on the ceiling instead of the furniture plan
An existing ceiling connection reflects an existing layout, not necessarily your proposed one. Installing first and repositioning the dining table afterward can undermine circulation and the intended composition.
Approve the furniture plan and chandelier center together. If they do not align, ask the responsible trades to assess the change before authorizing installation.
Treating white-glove handling as a complete electrical scope
Careful handling protects the fixture and the home. It does not define who assesses wiring, confirms support, makes connections, or tests controls.
Write separate requirements for handling and technical work. A polished installation experience depends on both, with a named owner for each responsibility.
Letting finish repairs become an afterthought
A replacement canopy does not necessarily cover the outline or damage left by the previous fixture. A finished installation can therefore leave visible ceiling work unresolved.
Photograph the existing condition and identify the repair boundary before removal. Confirm who patches and paints, and whether that work happens before or after mounting.
Closing the project after a photograph
A final room photograph records appearance, not operation. It does not establish that the controls work as intended or that the homeowner received the relevant instructions.
For your 2026 closeout, separate photographic approval from functional acceptance. Record remaining work instead of letting an attractive image stand in for a completed handoff.
FAQ
What is chandelier installation for interior designers?
Chandelier installation for interior designers is the coordination of fixture placement, support, electrical work, handling, and final approval. The designer defines the intended appearance while qualified professionals assess and carry out the technical work.
Who should install a chandelier on an interior design project?
Assign chandelier installation to professionals whose scope covers the actual work required. Electrical changes, structural questions, delicate assembly, and finish repairs need explicit ownership rather than assumptions about a single installer.
Can an existing ceiling light support a new chandelier?
An existing ceiling light does not establish that its box and support suit a new chandelier. A qualified professional should assess the proposed fixture against its documented weight and mounting requirements.
How do I choose the right chandelier hanging height?
Choose the hanging height using the room layout, furniture position, sightlines, clearance needs, and manufacturer’s guidance. Record the approved height before the installer makes final adjustments or trims components.
Is a handyman the same as an electrician for chandelier installation?
A handyman service description does not establish electrical qualifications or the scope of electrical work. Confirm who will assess the wiring, make connections, and perform any required electrical changes.
Does Nextsteppgh provide chandelier installation in Pittsburgh?
Nextsteppgh provides chandelier and fixture installation for Pittsburgh homeowners, alongside moving, furniture assembly, TV mounting, and handyman services. Confirm the specific electrical, support, handling, and repair responsibilities for your project before scheduling.
What should an interior designer prepare before installation day?
Prepare the fixture instructions, an approved location and height, room photographs, an access plan, and a written division of responsibilities. Resolve support questions and identify finish repairs before the installation appointment.
Should chandelier installation happen before or after painting?
Sequence painting around the mounting and repair work the ceiling actually needs. Have the installer and painter agree on the order so finished surfaces are not treated as ready while support changes or patching remain unresolved.
One last thing
Ask for a final view from the room’s main entrance, not just from directly beneath the chandelier. A fixture can look centered from below yet appear misaligned against a doorway, dining table, or adjacent room.
Make the entrance sightline part of your approval brief. It gives the installer a specific design reference while leaving mounting safety and technical decisions with the responsible professional.