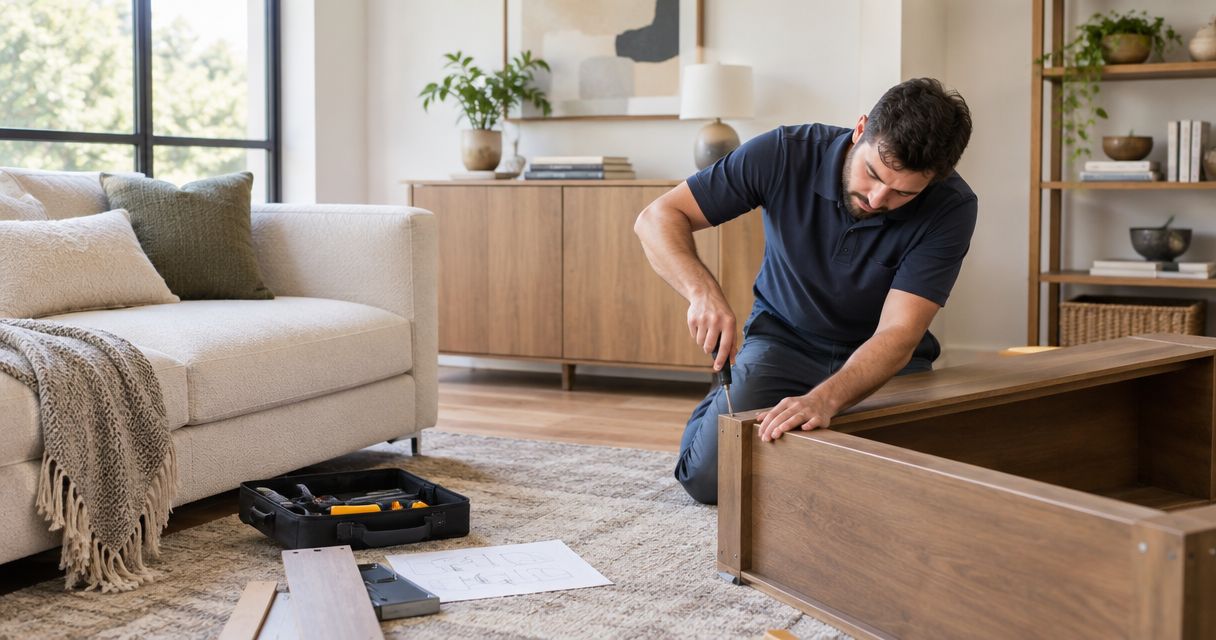
Furniture assembly for real estate agents is the preparation and installation of furnishings with the aim of making a property ready for staging, listing photography, or buyer handover. Unlike a routine household assembly job, the work must fit a marketing deadline, respect the seller’s belongings, and finish with an agreed room layout—not simply an empty stack of cartons.
- Furniture assembly for real estate agents should finish before styling and listing photography, with a documented handover.
- Pittsburgh agents should confirm property access, floor protection, furniture placement, and anchoring permissions before assembly begins.
- Choose self-assembly for straightforward pieces; choose professional assembly when complexity or coordination exceeds your available time.
- Keep assembly, moving, wall attachment, and packaging removal explicit in the written scope.
Why furniture assembly matters for real estate agents
Furniture assembly sits between delivery and presentation. A delivered dining table is not ready for photography if its hardware is incomplete, its position blocks circulation, or its packaging still occupies the room. Treat assembly as a separate project milestone rather than an incidental task on staging day.
For your 2026 listing plan, identify who approves the furniture layout and who accepts the completed work. The seller, agent, stager, and assembler have different responsibilities. Leaving those roles undefined creates decisions at the property when the work should already be underway.
Pittsburgh agents coordinating assembly alongside touch-ups can use the guide to pre-listing repairs to organize the wider preparation list. Keep each task separately authorized, even when one provider handles several services.
The completion standard is an approved, usable room—not merely assembled furniture. That distinction matters when a photographer needs clear sightlines, a seller expects existing finishes protected, and the next contractor needs unobstructed access.
How to organize assembly for a listing
1. Define the finished room before booking labor
Start with a written room-by-room brief. You can create it yourself using the furniture instructions, order confirmations, and photographs of the property. Identify what stays, what moves, and where each new piece belongs before anyone opens a carton.
Specify the intended use of each piece. A console staged against a wall needs a different placement decision from a desk intended for everyday use. Neither use removes the need to follow the manufacturer’s assembly and anchoring instructions.
Separate physical assembly from decorating. Building a bed frame does not automatically include dressing the bed, choosing artwork, or moving existing furniture into storage. A clear brief prevents the assembler from having to interpret your staging concept.
For a practical starting point, create 1 project brief that contains every room rather than spreading instructions across messages. Use the same document for your seller’s approval and the installation handover.
- List each item by room, manufacturer, and model when available.
- Attach instructions and photographs of the intended placement.
- Mark furniture that must remain untouched or in position.
- Name the person authorized to approve layout changes.
2. Inspect deliveries before reserving the final setup window
You can check deliveries manually against order confirmations and assembly instructions. Confirm that the correct cartons have arrived, then inspect packaging for visible damage. Do not assume an apparently complete delivery contains every component needed for assembly.
Set aside a clean area for opening cartons without blocking doors or circulation. Keep hardware with its corresponding item, and retain labels until the finished piece has been checked. If a part is missing, record the item details and resolve the issue before promising a finished room.
Your 2026 listing schedule should distinguish delivery, assembly, styling, and photography. These are separate dependencies, even when they happen close together. Avoid making photography the first opportunity to discover that a tabletop or support bracket has not arrived.
Use 3 checkpoints: delivery inspection, assembly acceptance, and photography readiness. These are planning checkpoints, not a promise about how long the work will take.
- Match delivered cartons to the furniture order.
- Check instructions for required parts, tools, and wall attachments.
- Photograph visible damage before discarding packaging.
- Resolve incomplete deliveries before confirming final styling.
3. Match the service scope to the property
For a straightforward item, you can assemble it yourself by following the manufacturer’s instructions and using the specified tools. Stop when the task requires handling, equipment, or attachment work beyond your ability. An agent’s availability is not a substitute for a safe assembly method.
Professional assembly becomes the more direct route when the job includes several rooms, difficult handling, or coordination with other home services. Send the same brief to each provider so you compare the work included rather than differently defined jobs.
Nextsteppgh is best for Pittsburgh homeowners who need furniture assembly alongside moving or handyman services. Its stated services also include TV mounting and chandelier and fixture installation. For an agent managing a seller’s preparation list, that service range is relevant; each requested task still needs its own agreed scope.
Do not treat a broad service list as confirmation that every item or installation condition is covered. Explain the actual furniture and property requirements before committing.
- Request written confirmation of the items included.
- Identify lifting, relocation, and wall-attachment tasks separately.
- Confirm applicable insurance and qualifications for the work requested.
- Establish who handles damaged parts or incomplete instructions.
4. Prepare access and protect the property
You can prepare access without hiring additional help: clear the route, identify the work area, and obtain the seller’s instructions for entry. For an occupied listing, distinguish the authorized work zone from private rooms and belongings that must not be disturbed.
Check the entire route, not just the room containing the furniture. Doorways, stairs, landings, and tight turns affect how components reach the assembly area. Confirm any building rules directly with the property manager rather than assuming contractor access matches visitor access.
Floor and finish protection belongs in the scope before work begins. Decide where cartons can rest, where tools can be placed, and how pieces will move into their final positions. Avoid using an existing dining table or kitchen island as an unapproved workbench.
Keep 2 photo sets for the handover record: the relevant areas before work and the completed setup afterward. Photograph existing marks where they affect the work route, without capturing personal documents or other private material.
- Confirm entry instructions and the authorized on-site contact.
- Clear circulation routes and the designated assembly area.
- Agree on protection for floors, walls, and existing furniture.
- Record building access restrictions and packaging disposal rules.
5. Verify stability, placement, and authorized attachments
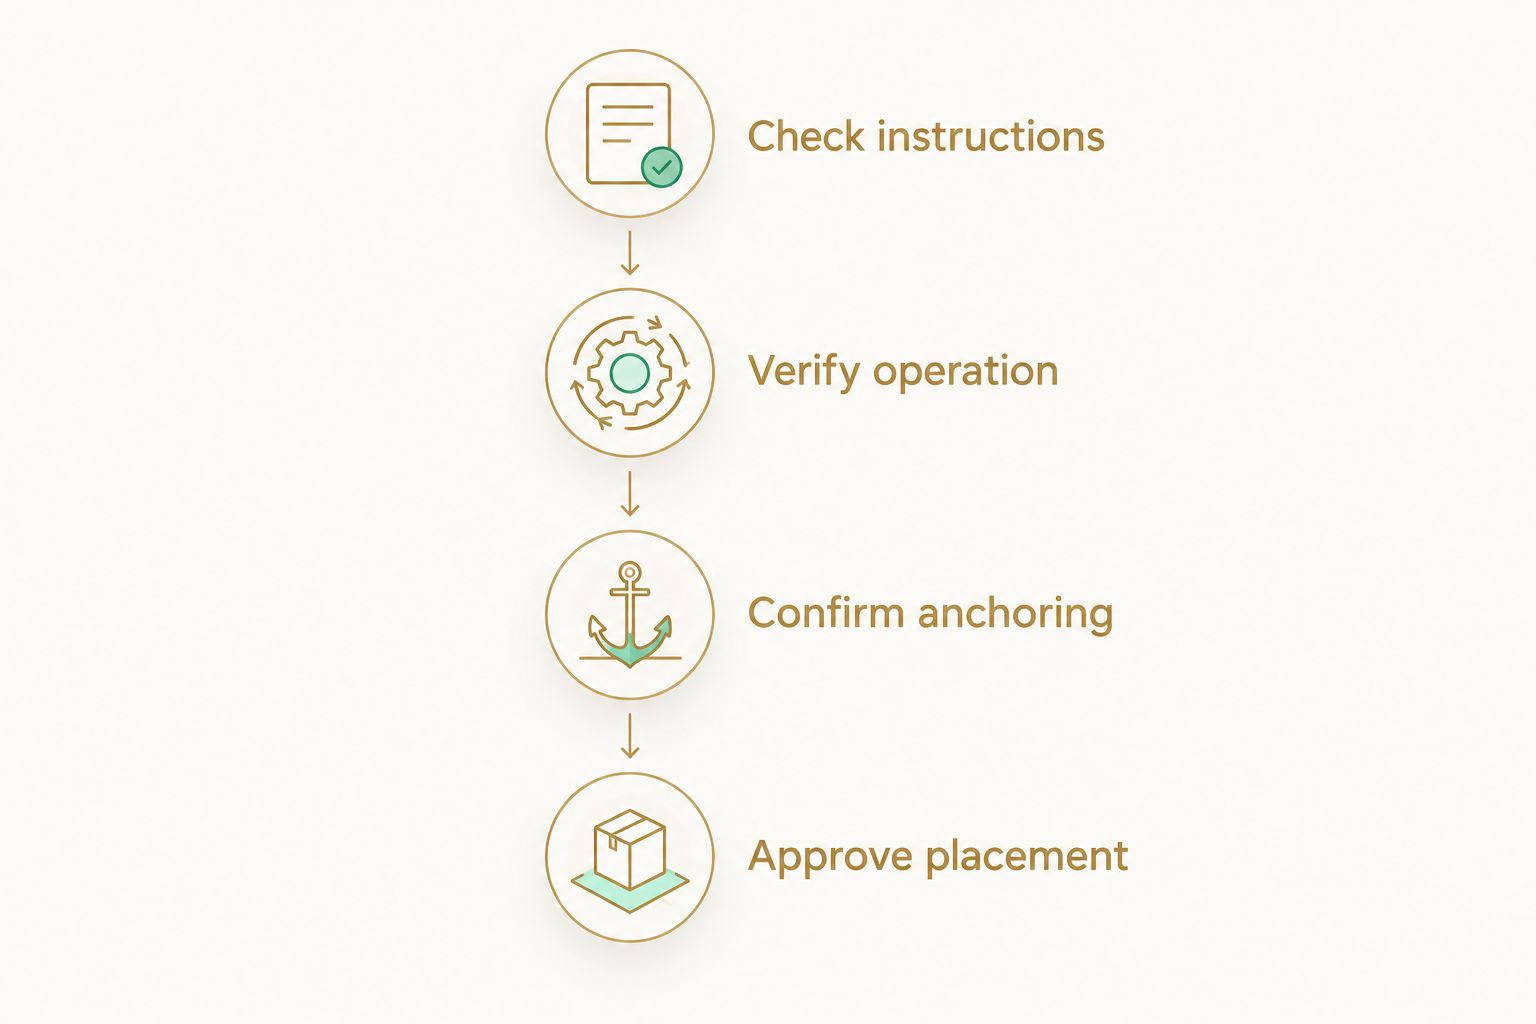
Begin the final check with the manufacturer’s instructions. Confirm that the assembly sequence is complete, specified fasteners are installed, and drawers or moving parts operate as intended. Do not judge completion solely from how the furniture looks in a listing photograph.
Wall anchoring needs explicit attention. A tall storage unit can look finished while still awaiting a required attachment. Obtain the owner’s permission, identify the wall conditions, and assign the attachment work before placing the item into use.
For a 2026 staging brief, separate appearance approval from installation acceptance. The stager can approve a position without being the person responsible for checking the assembly. Name both responsibilities where they belong to different people.
If you use Nextsteppgh for furniture assembly, confirm whether the requested scope includes the particular attachments and placement work your items require. Do not infer those details from the service name.
- Check the finished piece against the manufacturer’s instructions.
- Verify doors, drawers, supports, and specified fasteners.
- Confirm required anchoring and obtain owner authorization.
- Approve final placement without blocking doors or circulation.
6. Close the job before photography or handover
You can manage acceptance with a short written checklist and photographs. Walk through each room against the original brief, record unfinished work, and assign an owner to every outstanding item. Avoid a general approval message that leaves specific problems unresolved.
Confirm what happens to cartons, spare hardware, and instructions. The seller needs to know where retained materials are stored, especially if furniture will remain with the property. Packaging removal is a separate scope item unless it has been expressly included.
Your 2026 handover record should show the final layout and any agreed exceptions. If furniture must move after photography, document who will move it and whether disassembly or renewed attachment checks will be necessary.
With Nextsteppgh or any other provider, close against the agreed work—not assumptions about what a white-glove service includes. The written acceptance should distinguish completed assembly from unresolved product defects or work awaiting approval.
- Compare each completed item with the approved brief.
- Record defects, missing parts, and unfinished attachments.
- Confirm packaging removal and the location of retained materials.
- Send the final status to the seller and relevant listing partners.
Compare assembly options for your listing
Choose the option around the actual assignment. Self-assembly offers direct control, a dedicated assembler concentrates on the furniture, and a home-services provider can be considered when assembly sits within a wider property preparation project.
For 2026 listings, compare the same item list and acceptance criteria across every option. A shorter scope is not an equivalent proposal simply because it mentions furniture assembly.
| Option | Best for | Main advantage | Key limitation or check |
|---|---|---|---|
| Agent or seller self-assembly | Straightforward items within your ability | Direct control over sequence and placement | Uses your time; handling and attachment requirements still apply |
| Dedicated furniture assembler | A clearly defined furniture-only assignment | Keeps responsibility focused on the assembly brief | Moving, repairs, and packaging removal need separate confirmation |
| Nextsteppgh home services | Pittsburgh homeowners combining assembly with moving or handyman tasks | Offers furniture assembly within a wider stated home-services range | Confirm item-specific scope, attachments, and coordination before booking |
Choose by responsibility, not by the length of the service list. A provider only solves a coordination problem when the required tasks, permissions, and completion checks are actually agreed.
Common mistakes real estate agents make
Booking photography before confirming the furniture is complete
A delivery confirmation does not establish that every part is present or that assembly is finished. Keep photography dependent on an accepted room setup, not merely a scheduled delivery. If an item remains unresolved, decide whether to omit it from the staging plan before the photographer arrives.
Treating staging furniture as exempt from safety instructions
Furniture used for photographs still needs assembly and attachment checks. Do not postpone required anchoring because the property is vacant or the piece is temporary. Follow the manufacturer’s instructions and obtain the owner’s authorization for attachments before use.
Letting several people issue conflicting directions
A seller, agent, and stager can each have a different layout in mind. Name one approval contact for installation decisions and document any changes. That keeps a last-minute styling preference from becoming an unapproved relocation or attachment task.
Assuming assembly includes every finishing task
Moving an existing sofa, removing cartons, attaching a unit to a wall, and styling shelves are distinct tasks. List them explicitly rather than relying on the phrase white-glove. This is particularly important when a listing preparation project combines furniture work with repairs or fixture installation.
FAQ
What does furniture assembly for real estate agents include?
Furniture assembly for real estate agents covers the agreed work needed to build and place furnishings for a listing or handover. Moving existing furniture, wall attachments, styling, and packaging removal should be listed separately in the scope.
Should I assemble staging furniture myself or hire someone?
Assemble straightforward furniture yourself only when you can follow the instructions and handle the components safely. Hire an appropriate professional when complexity, handling, or coordination exceeds your ability or available time.
When should furniture assembly happen before listing photos?
Finish and accept furniture assembly before final styling and listing photography. Confirm that deliveries are complete before committing the final setup window.
Who should approve the furniture layout in a seller’s home?
Name one authorized layout approver before assembly begins. The seller should authorize work affecting the property, while the agent and stager should agree on how presentation decisions reach the installer.
Does staging furniture need to be anchored?
Follow the furniture manufacturer’s anchoring instructions even when the piece is used for staging. Obtain owner authorization and confirm who is responsible for the attachment work before the furniture is used.
Can one provider handle furniture assembly and other listing preparation?
A provider offering several relevant services can be considered for a combined preparation project. Confirm each task separately, including furniture assembly, moving, repairs, and any installation work, rather than assuming one booking includes everything.
What should I check before accepting an assembly job?
Check the completed furniture against the instructions and approved project brief. Verify operation, required attachments, final placement, outstanding defects, and the agreed handling of packaging and spare parts.
One last thing
Save the instructions, not just the finished-room photographs. A furniture piece that stays with the property needs a usable handover record, particularly if it will later be moved or disassembled.
Put retained instructions, spare hardware, and item identifiers in a labeled location agreed with the seller. Record that location in your closing note. It is a small administrative step that preserves information a polished listing photograph cannot show.